Sandwell Group Blog

Restoration of Exterior Stairs and Landing-image

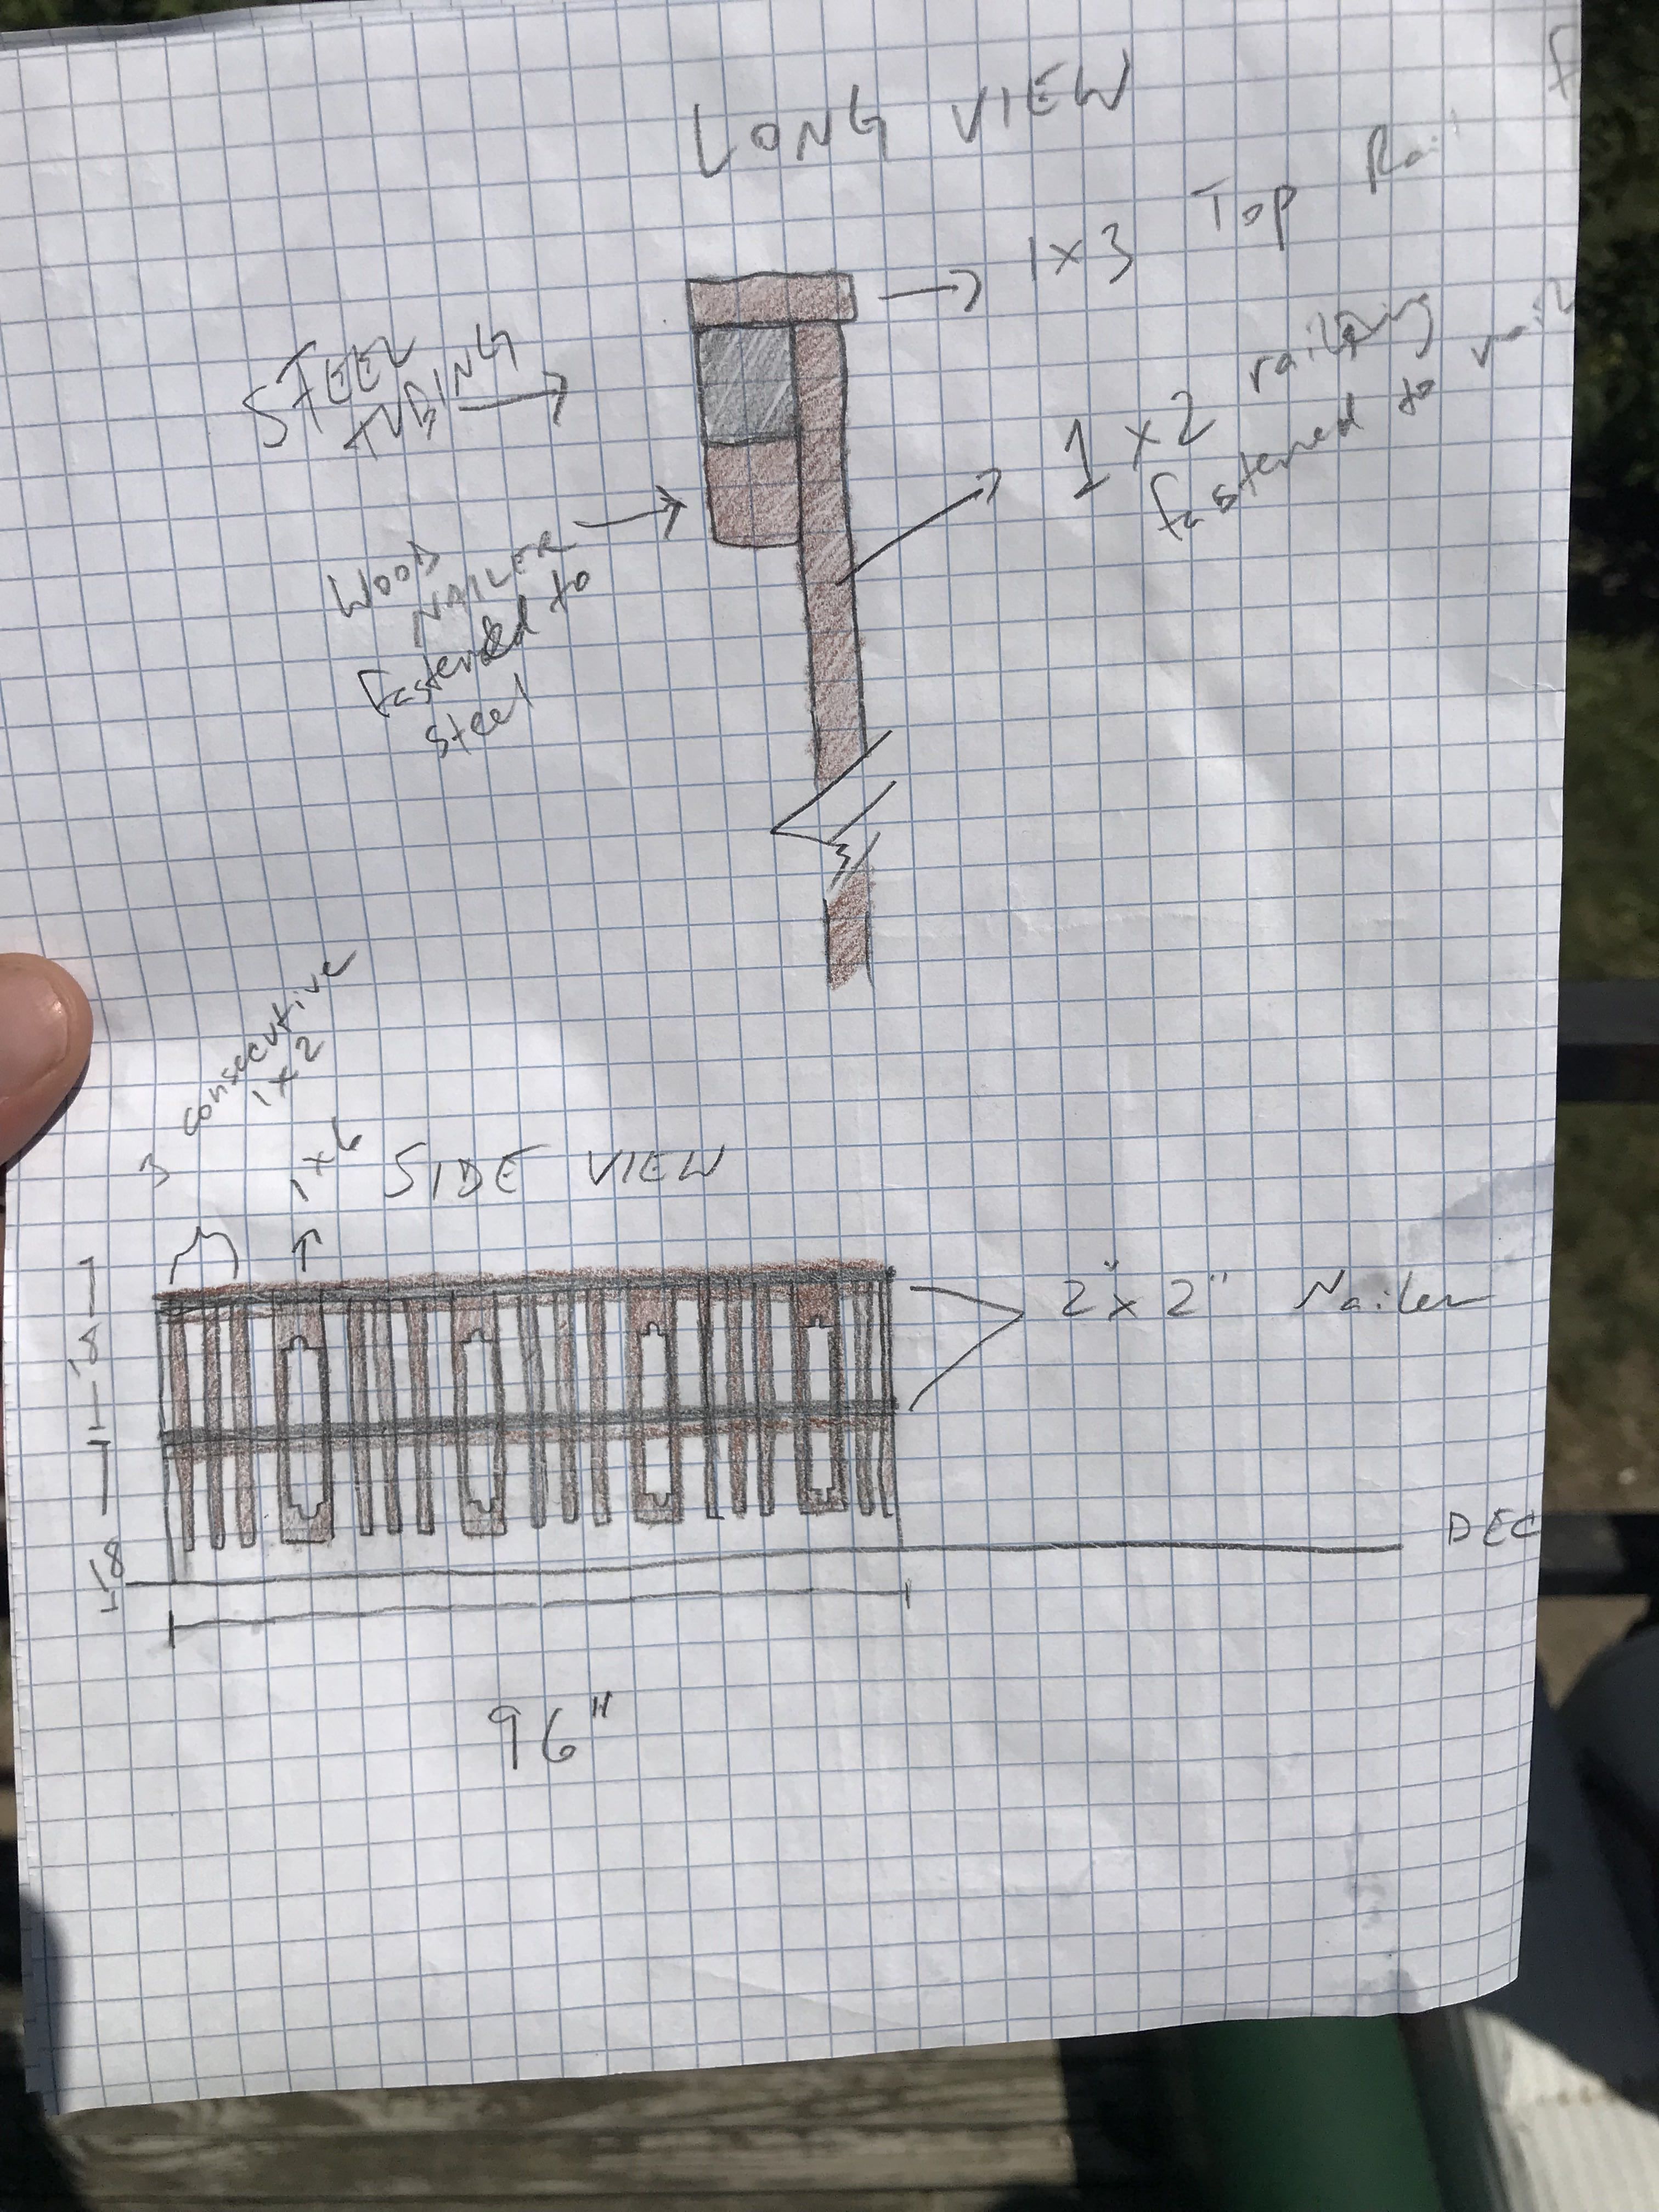
The Elm Street entry to Bailey House features a set of stairs and landing to an interior foyer welcoming guests to units 1 and 2.  The stair stringers were improperly supported which caused them to deteriorate before the end of their useful life; despite being constructed by treated 2x12s and probably installed within the last 20 years.  Furthermore, their grade was too steep for code and comfort; and the railing system was horizontal steel tubing with 18" gaps leading to a 12' fall.  The amalgamation of safety, function, and design deficiencies properly qualifies this project as an opportunity to make the home's worst feature become one of it's most desirable.   The first step was a to contact furniture maker, Allen Strong ( https://www.instagram.com/stronghaven_design/ ), as I had a notion of what I wanted to do but sought expertise on how to fabricate and assemble.  After settling on a drawing that met my needs to incorporate the style and vintage of the building, along with the need to add safety features and long-lasting use, we sub-divided duties.  I set to work constructing a new set of stairs and decked landing; while Allen set to work on restoring the steel tubing (for re-use) and fabricating hand-crafted pine balusters to fasten to the tubing.  You might wonder whether re-using 2" square tubing is really "period correct" on a late 19th century Italianate... you'd be right in querying such things.  However, a passerby said it best while admiring this restoration:  "People overdo it in the States with historic buildings.  Europe figured out long ago that in order for a building to be appreciated over generations it must be "used" and that means adapting use, materials, and design features in order to stay relevant.  Otherwise, it will either rot or become a museum, both of which reduce the number of historic properties".  I'm not sure I agree with the entire analogy but it's re-stating here serves purpose.  I'll continue to think on that.  In any event, the economics of discarding steel tubing that simply needed new top-coating was too much to resist.  So it made it's way into the final project.  Here's a "before" picture and a sketch of how it would go together: The new stair stringers were cut with a 7.5" rise over an 11" inch run.  This is a much more comfortable step than the outgoing stringers of 9" rise over a 10.5" run.  I also added a 4th stringer (18" apart).  The new grade of the stairs plus the 4th stringer will make the stairs safer and easier to navigate for future tenants whilst moving; in addition to the occasional need to replace heavy appliances such as a refrigerator since this is the building's main point of ingress and egress.  The stringers were flush mounted using modern Simpson stringer hangers on a ledger of twin 2x12s.  They rest nice and level which balances the load and will allow these stairs to last as long as the materials permit without premature failure (treated pine, kiln dried, factory stained after drying).  Here is a look at the finished stairs and landing: Here comes the fun part:  Allen breathed life into the drawings by refinishing the steel tubing and hand making the balusters.  The design drew inspiration from some of the home's features.  A boxy and symmetrical quality defines many Italianates; not unlike cubism or brutalism.  However, since Italianate's are ornate, and brutalism is not, we are free to have as much fun with circles as our hearts and minds can muster.  Units 1 and 2 also feature archways overhead as well as the elongated oval of the glass in the front door.  So it would appear that that least "edgy" geometric shape (or is in the "most edgy"?) is fair game for our purposes.  Four rectangular balusters with complementary archways on the tops and bottoms set the ornate design for each side of the handrails.  The vertical slats add spacing and variation to make the rails safe and help keep the rails from becoming "gaudy"... which would've been the result if every baluster were ornate in my opinion.  Each baluster contains 7 top coats; including stains and spar varnish.  Allen joined the ornate pieces so as to conceal any fasteners and keep them from becoming offensive to the eye.  Also the installation of each baluster concealed the fastening of the wood vertical spindles to the tubing.  Of course, Allen painted all of the stainless screw heads after installation so they virtually disappear.  I'm not sure I could've been happier with the result.  See below:

Read more
Energy Efficiency Capital Improvements-image

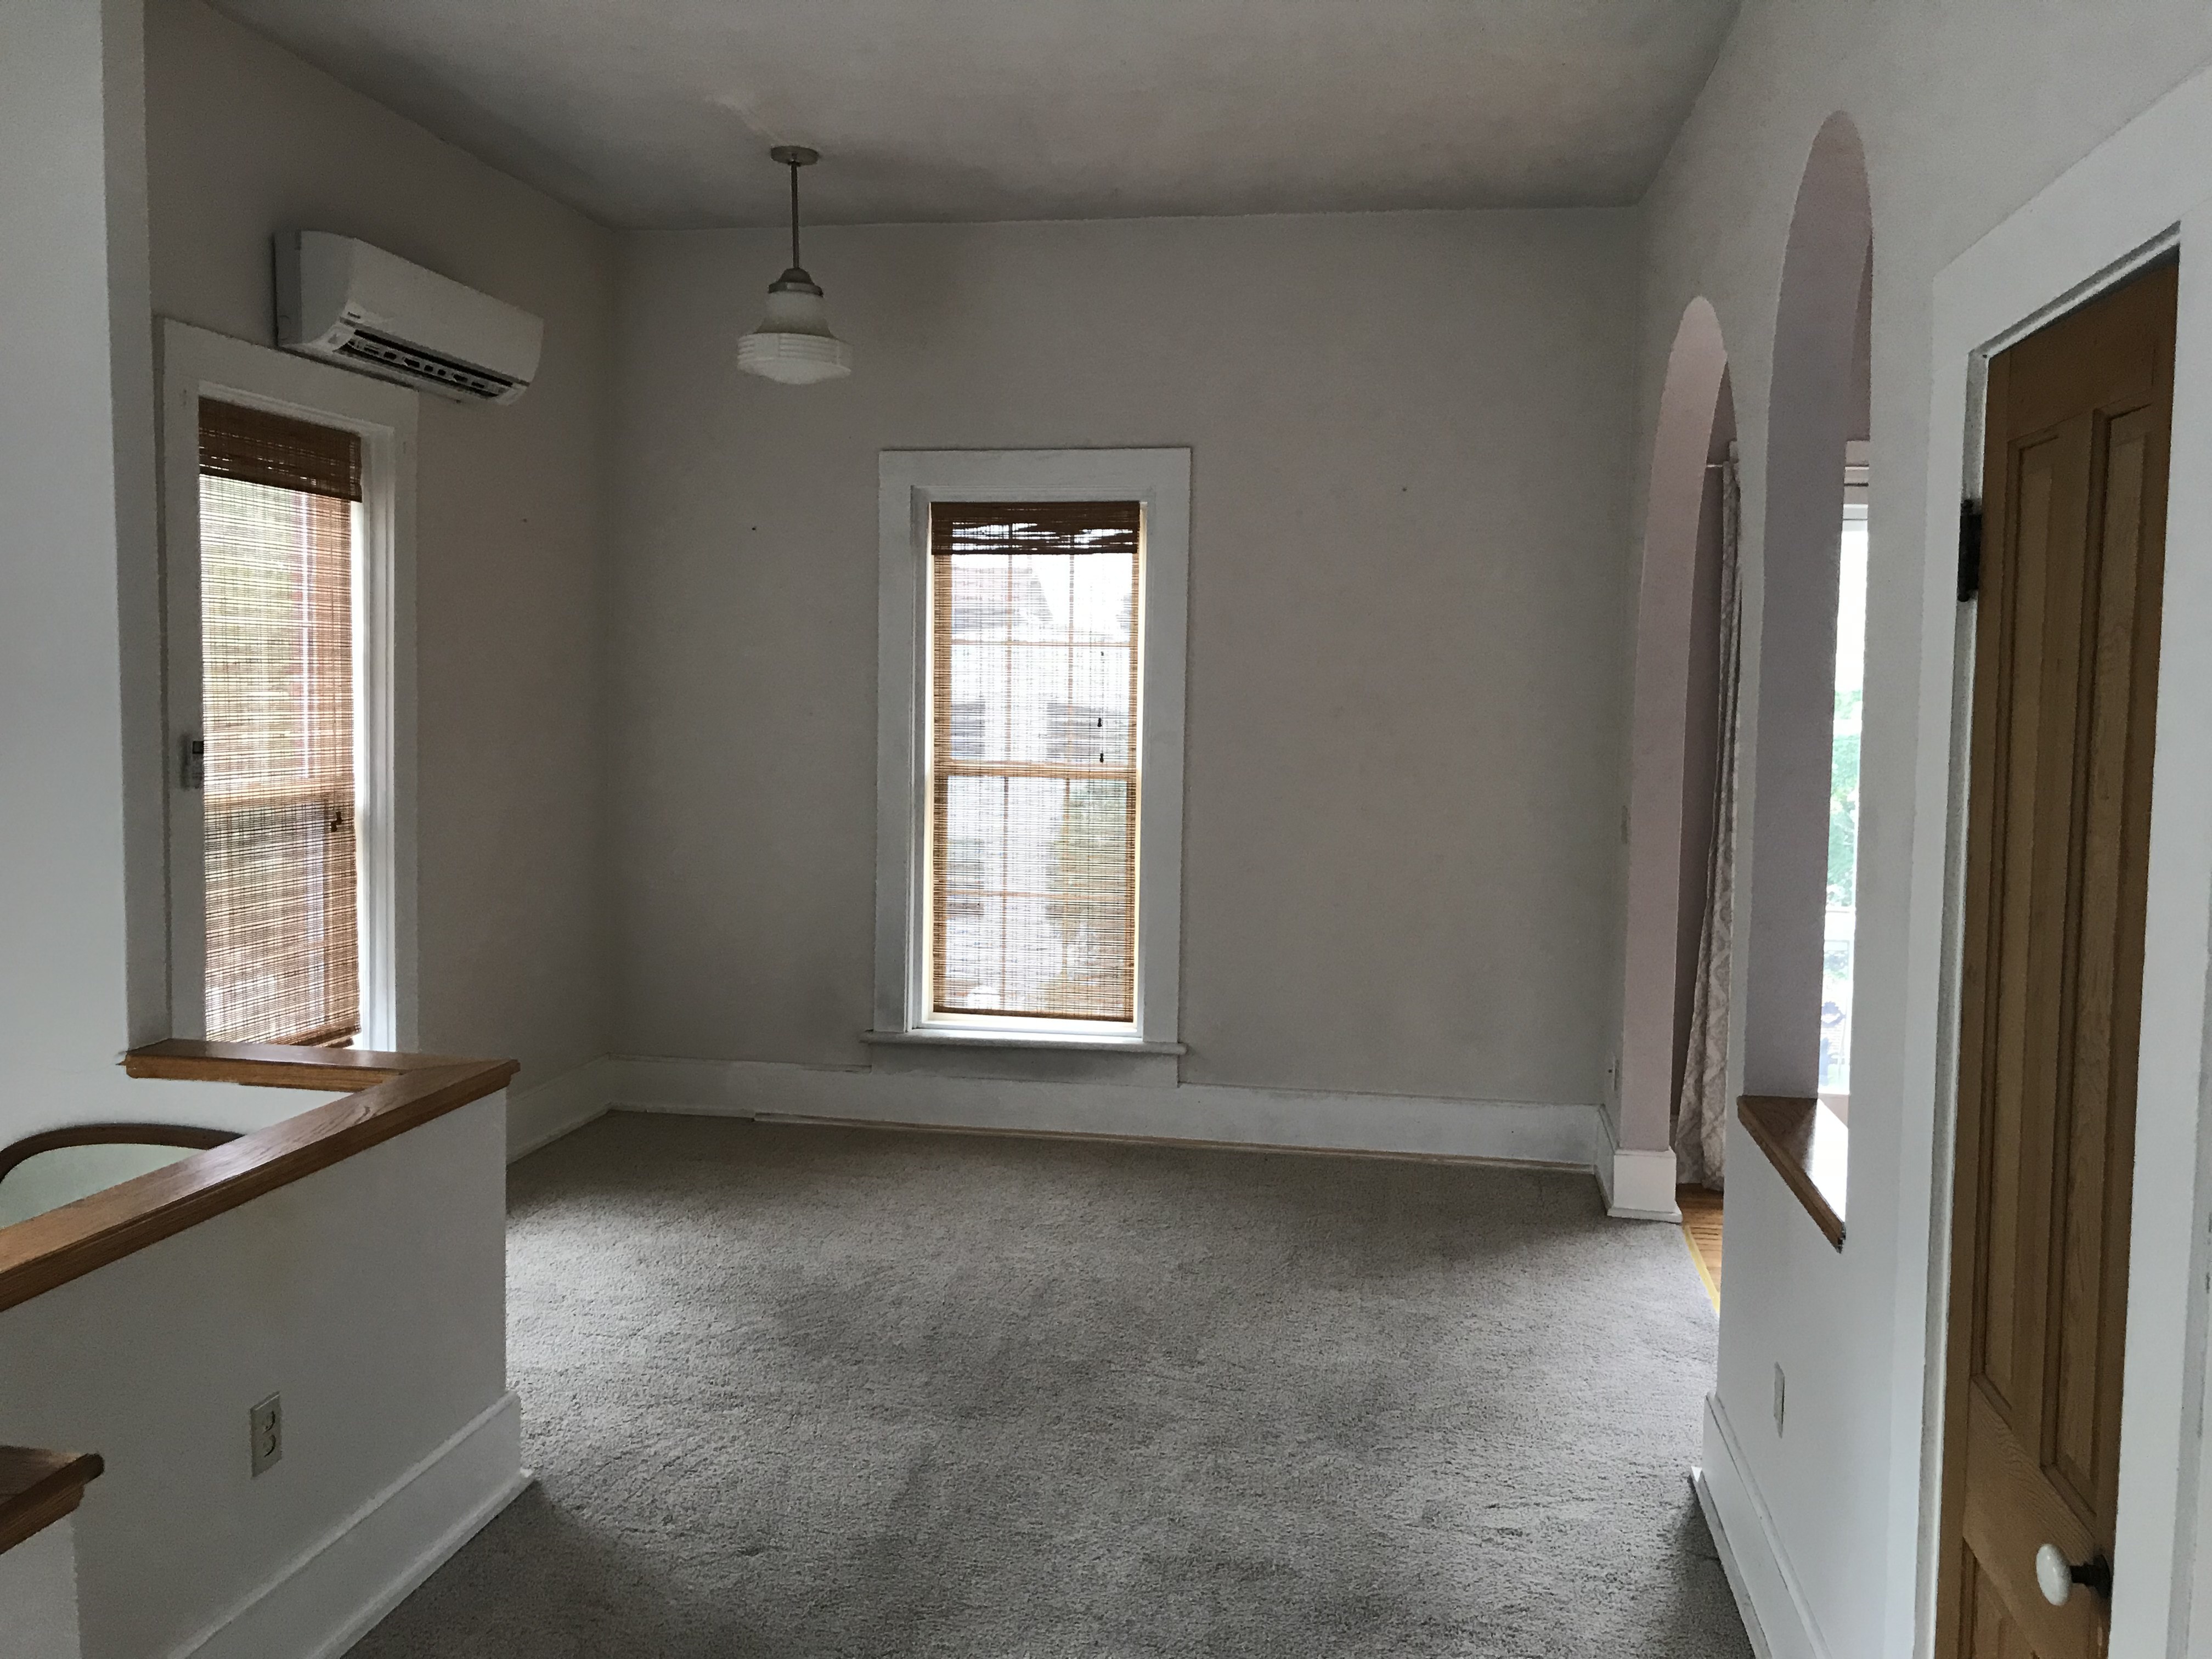
I’ve spent the past year carrying out a handful of capital projects on the Bailey House, designed to make it easier to live there (economically) and to make the rooms more comfortable.   Before getting into mechanics, there are some features of this property that make it naturally comfortable to live in, before energy is needed to condition interior air.  Here are two:   (1) The floor-to-ceiling windows have two sashes that each slide open on a vertical track with counterweights.  This feature in such an elongated window contribute much to the comfort of the home as warmer air can roll out of the top sash in the summer, and cooler air rolls in the bottom sash.  This window design turns over air in a similar way to a whole house fan. (2) The booming oak tree on the southern border of the house acts like a cooling tower during the cooling season.  Trees are rarely given their due as favorable contributors to home comfort.  The shade they provide to roofs alone lowers the need for conditioned air considerably.  In this case, all 3 units in the house have windows that also receive full shade from this tree.  The heat gain from the southern sun is mitigated and the need for A/C drops further.   Those traits aside, the house was due for mechanical upgrades. (1) The home previously had two electric water heaters located in the garage and piped to the units.  The water heater locations are about 6 feet from an un-insulated garage door that opens several times a day in the winter.  Since the basement is about 50 degrees in the winter, much energy is brought to bear just to keep the tanks re-heating to 125 degrees, even when there is no demand for hot water.  I made the decision to install on-demand water heaters purely based up on the location of the piping.  I went with 98% efficient Navian water heaters (natural gas) and removed a basement window to bring in gas lines from separate gas meters and also to meet the air intake and exhaust needs of the new heaters.  Since the heaters are digital, each needed a 120v receptacle installed.  Losing a whole window was a price to pay (lighting) but allowed me to keep the sanctity of each apartment's sub-metered gas, electricity, and water.  Since these are condensing water heaters, drains were installed along the floor to dump the condensation into a nearby sump pit.  I like to avoid condensate pumps whenever possible (to avoid consuming extra electricity and also to avoid adding complexity to the system).  The final product turned out great.  The tenants get the benefit of unlimited hot water and lower energy costs.  I get the benefit of increased floor space in the basement and retention tool for tenants that increases my building livability. (2) The HVAC to unit #1 was converted to heated forced air in the 1980s; except the master bedroom addition which had two 240v baseboard heaters on 20 AMP breakers and installed beneath the windows.  Air conditioning was supplied by window units.  The returns and duct installation were sound so I decided to expand upon what others had started.  Two new ducts were installed to the master bedroom with plenty of room to connect them to the existing plenum at the furnace.  Now I am able to eliminate the baseboard heaters.  Next the furnace was removed and 95% efficient Rheem furnace and evaporator coil were installed in it's place.  The condensing unit was installed on the North side of the house with consideration to where the hot air is discharged off the coil and to aesthetics.  Nest thermostat installed to allow future tenants the full complement of control over their new HVAC. The HVAC to unit #2 consisted of 5 baseboard electric heaters and window A/Cs.  Three of the baseboard heaters were removed and one re-installed in the bathroom which previously had no heat.  The ceilings in this apartment are 10 feet tall with an attic space above.  I considered the attic a poor place to blow conditioned air, so instead selected a ductless mini-split system.  This system was designed with 3 interior air distributors that exchange heat with an outdoor inverter condenser coil.  Each room now has separate heat and cool controls to optimize efficiency.  In addition, the system gets it's efficiency by having zero energy loss delivering conditioned air to the living space.  The best part about this particular installation was that we were able to use some of the building's abandoned chimney's as chases to run linesets and condensate drains.  The result is minimal need for surface mounted molding to hide the unit's mechanical piping.    

Read more
Exterior Lighting Upgrade-image

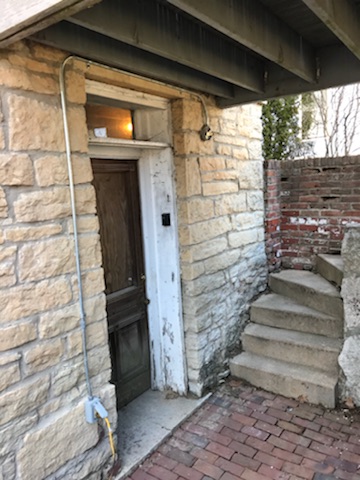
The basement entrance to Sandwell House has a sub-grade set of concrete stairs leading to a patio and entry door.  The door is flanked by a porch light and switched inside the building.  It burns all day long which compelled me to put the light on a timer.  I also added some modern house numbers to one of the brick entry pillars last fall and thought now would be the time to illuminate those numbers at night.  A property with a comfortable environment after dark needs to be illuminated in a way that shows some consciousness and consideration for what can be accentuated; and consideration for the house’s tenants so as to not blind them with annoying light.  In this case, landscape-style “up” lighting can, I think, meet those needs and showcase the brick and the building numbers.  So I’ll put that on the timed circuit as well.  Up lighting is under threat from the dark skies initiative because of the light pollution it creates.  I like to use down-lighting whenever possible; but up-lighting still has it’s place within moderation. Parts: Most of the components came from Kichner whom specialize in outdoor lighting products.  For the spotlight I used a post-style junction box buried a foot deep in the ground because I wanted the option to add an outlet at this location in the future (albeit a switched outlet).  I  used an Intermatic T101 mechanical timer to control the porch and landscape lighting.  No transformers here, just line voltage.  These timers require a neutral to power the clock.  I didn’t have one in my switched box so I temporarily  borrowed  a neutral from the ground.  This isn’t code and not a good approach long term.  Next weekend, I’ll return to replace my “drop” into the timer with 12/3 rather than 12/2 sheathed cable.  This will then be properly wired and not sabotage the equipment ground. Labor: Roughed in the post light to start with by anchoring the flexible conduit into mortar joints on the pier, the box of the overhead decking, and directly into the limestone foundation wall.  Don’t forget to use stainless steel screws into treated decking.  This went well except when I arrived back on the porch light to make my connections.  The conduit is 3/4″ flexible underground conduit and my porch light box had only 1/2″ threaded inlets (gray plastic box).  I’ve learned electricity isn’t like plumbing where one might expect to simply install a 3/4″ elbow that reduces down to 1/2″ to enter the box.  As far as I can tell no such fitting exists (should have checked McMaster-Carr:  they have  everything ).  With a consultation from my trusty neighborhood mechanical genius, I settled on a solution:  thread in 1/2″ male box extender, face bushing to reduce from 3/4″ to 1/2″ and receive the elbow, 3/4″ liquid tight elbow to connect the box to the conduit.  Silicone on threads and I expect that connection to be watertight for as long as I’m alive.              

Read more
Bailey House Introduction:  207 S. Elm-image

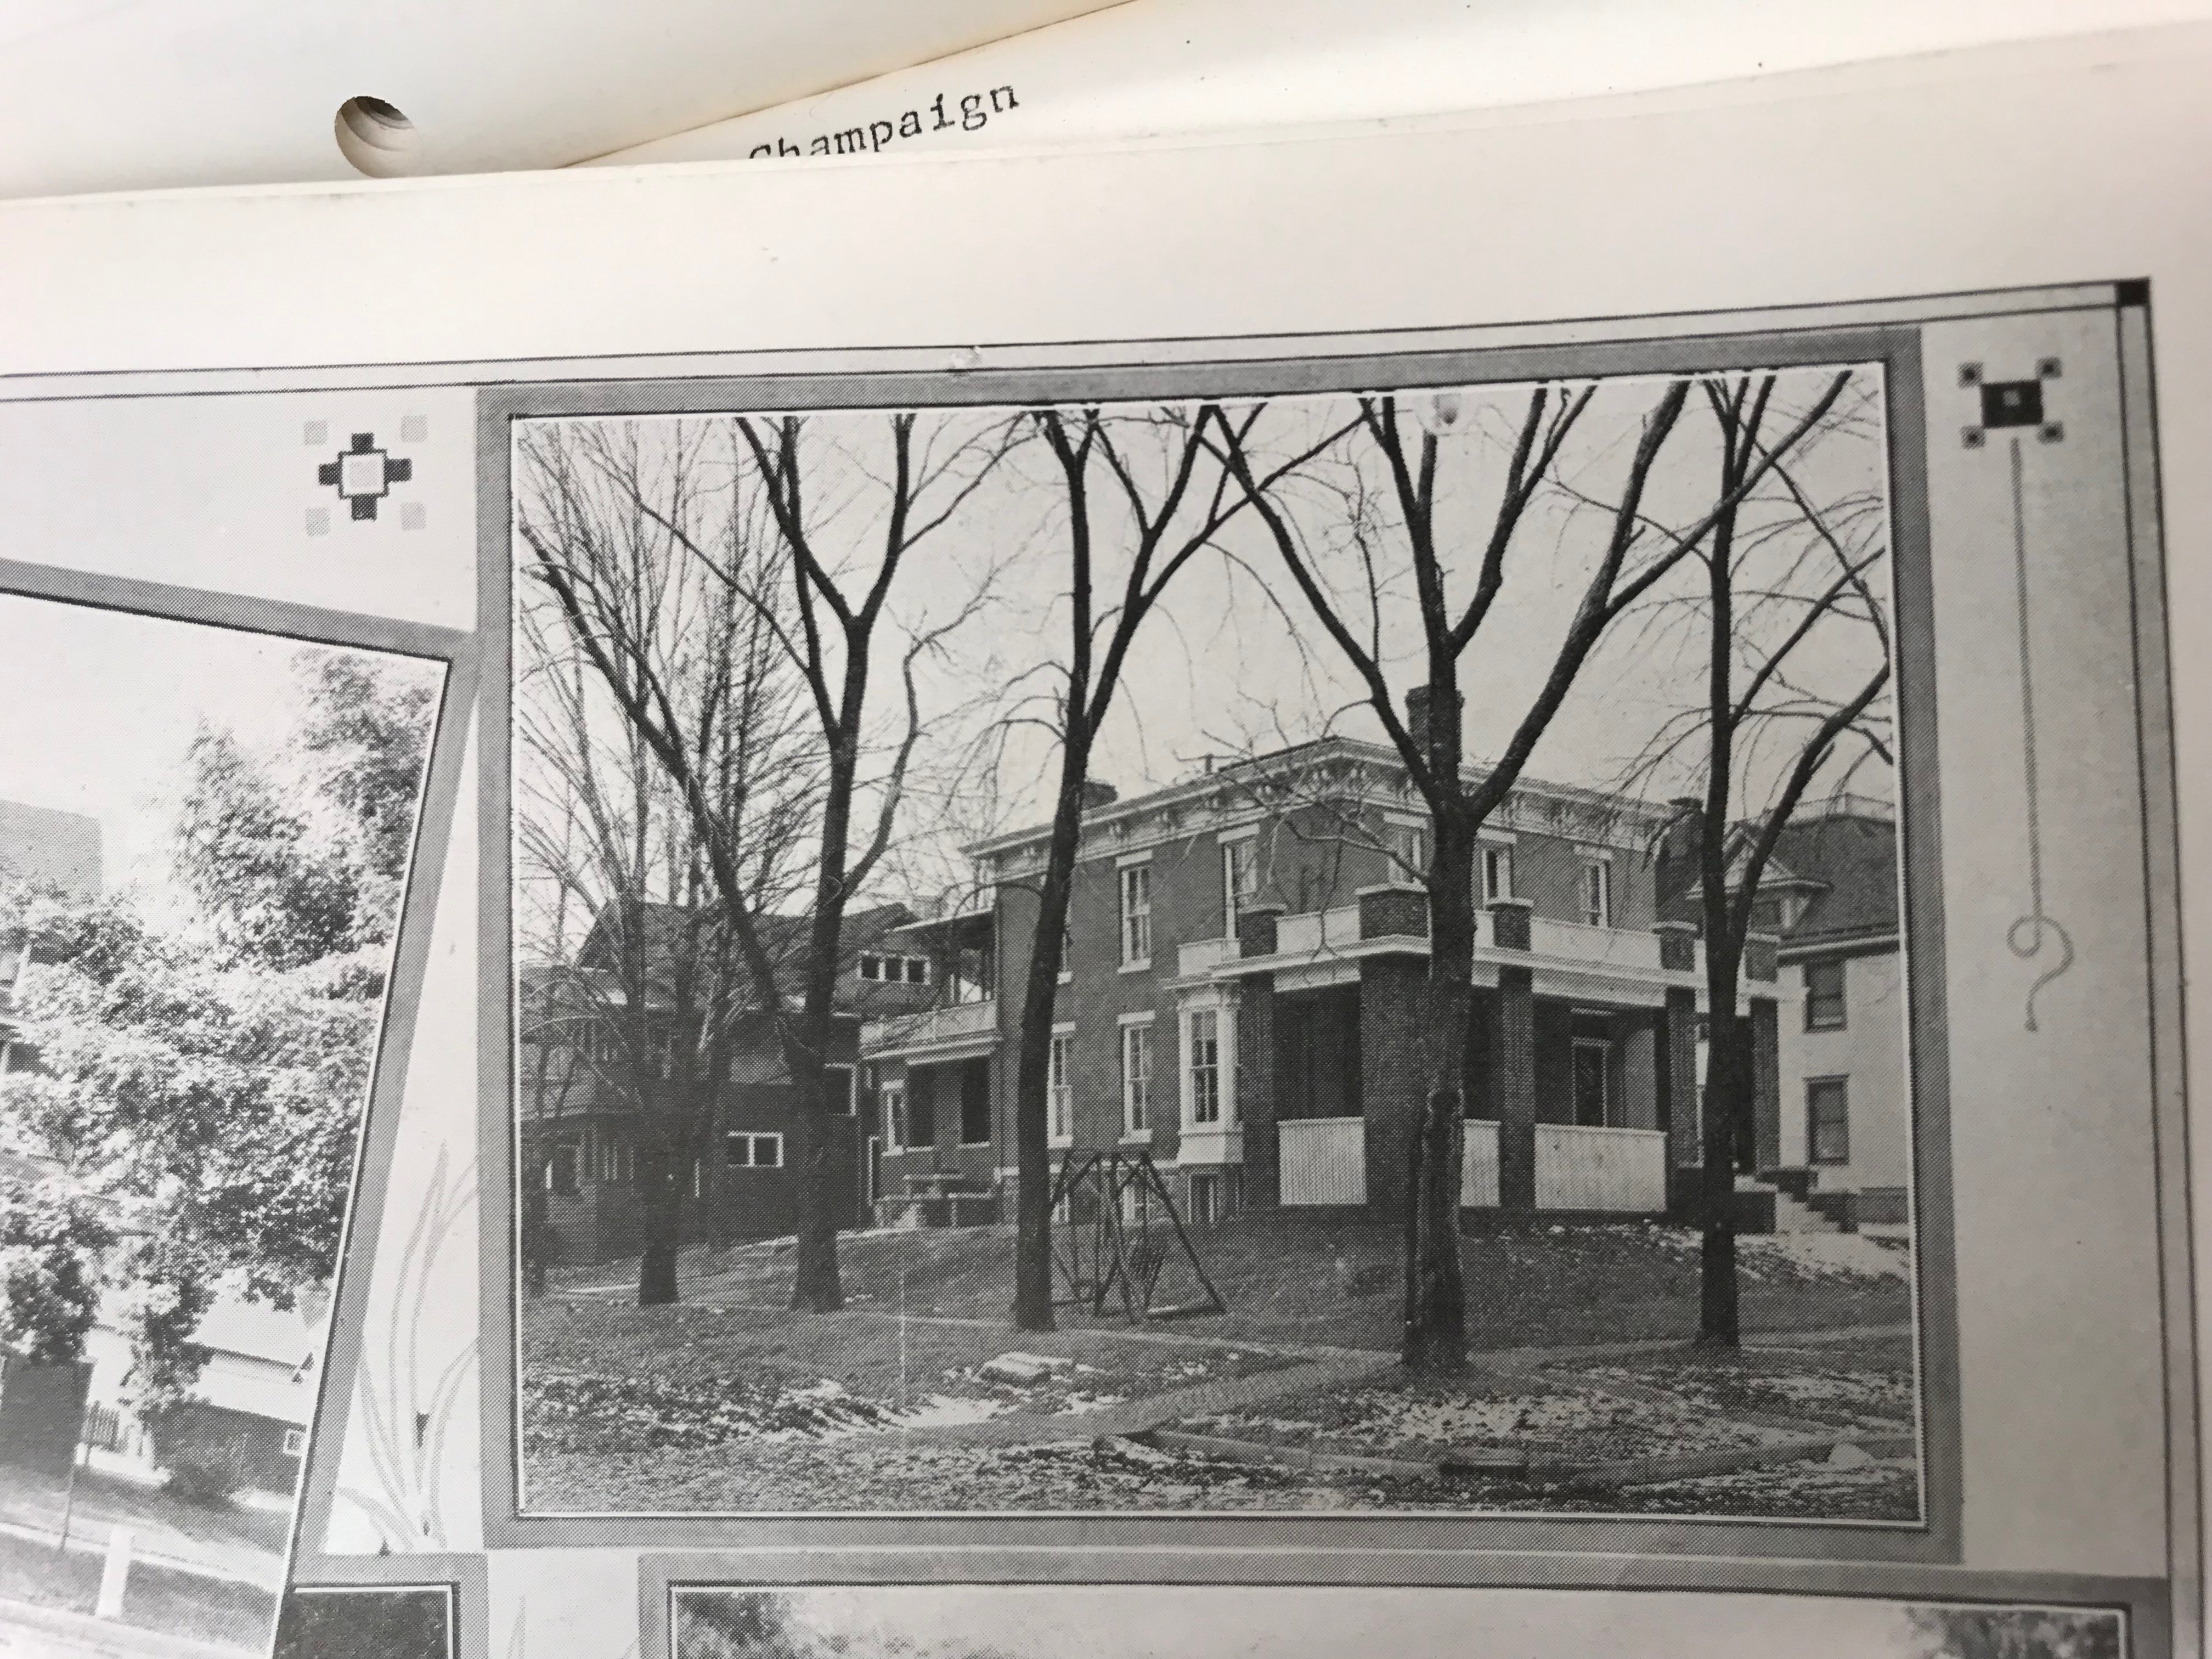
Bailey House is located at 207 S. Elm Street Champaign, IL 61820. While the house has no formal name or designation as a historical site; it is named "Bailey House" after my best efforts to identify the builder.  As I searched the deeds on this property at the Local History section of the Urbana Free Library, I can see that the neighborhood was sub-divided and developed by the "White" family whom sold this lot to "Bailey" for $400 in 1864.  Bailey sold the home again in 1869 for $4,500.  Therefore, I've made the (somewhat) educated guess that the building was erected by Bailey during that 5 year period and triggered the spike in value. The local moniker worn by this home is that it was the first intentional 2-flat built in Champaign County.  The traditional Chicago 2-flat is something of an architectural superhero in my book.  They were erected en masse around the Chicago stockyards in the late 19th and early 20th centuries as reasonable places for working families to reside.  They offered the density necessary to live near a City (which is favorable to the socio-economic challenge of commuting to work) while also offering a suburban/neighborhood feel.  Furthermore, they are known for their unique and durable brick and stone facade's; and henceforth remain extraordinarily popular in Chicago today. The Bailey House has had different configurations for the entrances to each apartment.  It formerly had exterior 2nd floor entries with double decker porches and the East and West sides of the house (pictured below in 1909).  Today the second floor access is within the foyer.  However, the house is identifiable by it's Italianate Renaissance design features.  Those include floor to ceiling windows punched symmetrically across the building's facade, as well as the scrolled cornice to decorate the roof's eaves.  The second picture below shows the home in 2017.

Read more